So, I’ve just tried the brand-new bucket of Rustoleum Glitter paint, I’d like to talk to you about applying glitter paint to your walls.
Before I tried Rustoleum glitter paint, I couldn’t find any reviews or application tips online. So, I decided to share my honest review and some helpful advice for a smooth finish. If you’re new to using Rustoleum glitter paint, check out my insights on its pros and cons, along with application tips.
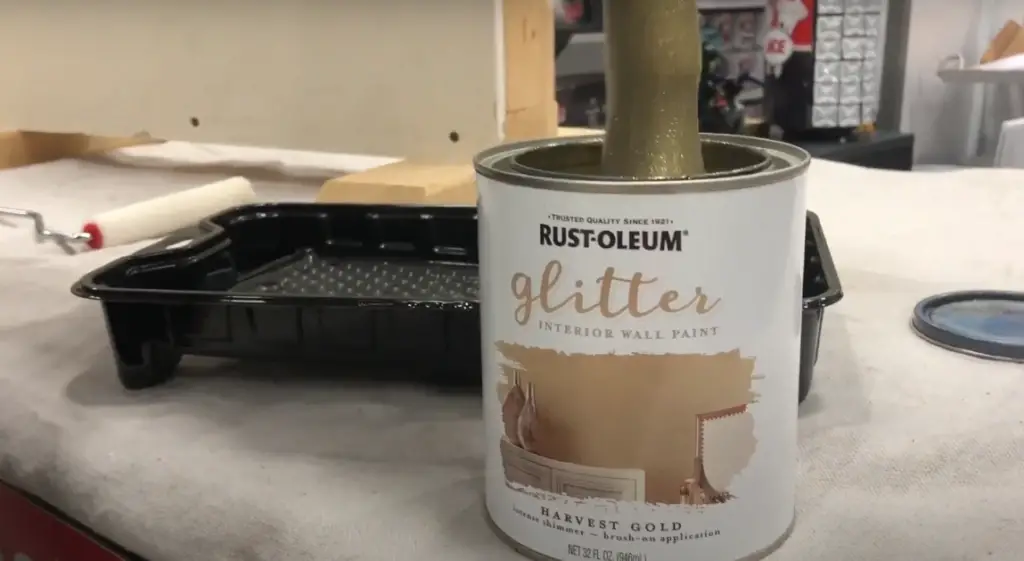
Anyhow, I’ve got a quart of Rust-Oleum glitter paint that is a super goopy looking material, which is a lot more conducive to getting a nice finish on the wall and just adding glitter to any kind of paint.
Now, a lot of people are looking online, and they’re saying, “Oh, I can just buy glitter at the craft store and put it into just regular paint.”
The problem is you don’t get the consistency in the glitter on the wall, and a lot of people are really disappointed with the results.

Pro Grade Paint Roller Kit, Brush & Roller for Professionals & Homeowners
Perfect for smooth finishes on your interior walls. Ideal for home improvement enthusiasts!
Buy Now on Amazon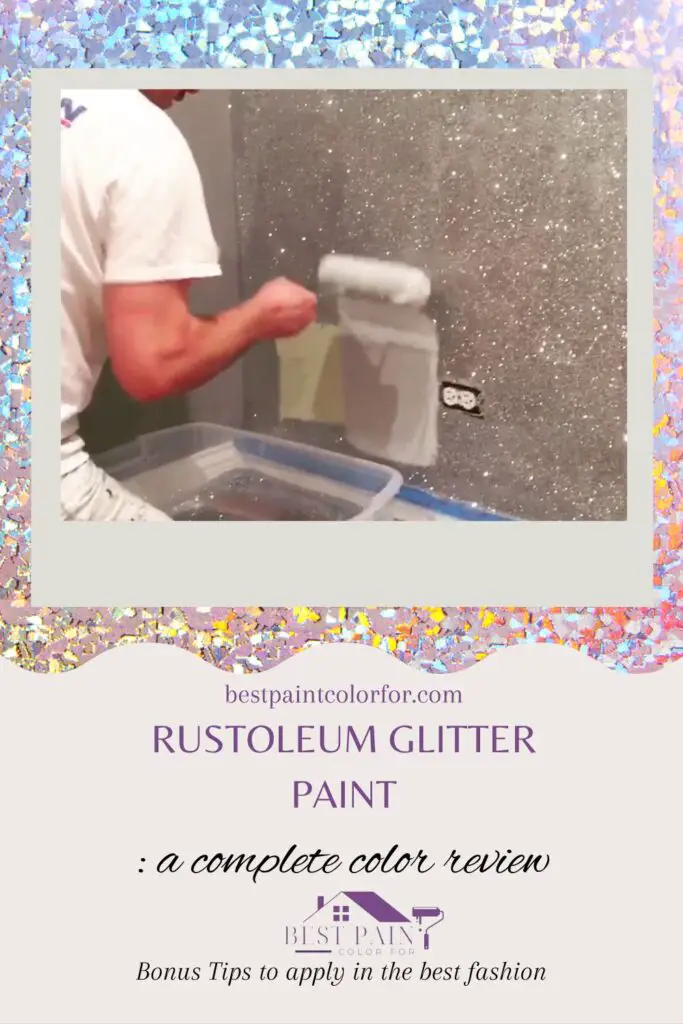
Rustoleum Glitter Paint Review
When it comes to Rustoleum Glitter Paint, there are some pros and cons you should know about:
Cons:
- Not Opaque: One of the downsides of this paint is that it’s not opaque at all. In fact, it’s quite transparent. If you happen to have pencil marks or any imperfections on your wall, be prepared to see them peeking through the paint.
- Learning Curve: Applying Rustoleum Glitter Paint isn’t a walk in the park. It comes with a bit of a learning curve. You need to apply it carefully to avoid that dreaded blotchy look.
Also Read: The 15 best sage green paint colors for 2023
Pros:
- Gorgeous Shimmer: On the bright side, this paint does deliver a gorgeous, shimmery finish. It can add a touch of magic to a child’s room or any space that needs a little sparkle.
- Low Effort, Low Cost: If you’re looking to jazz up a room without investing a ton of effort or money (unless you’re planning a complete room makeover), Rustoleum Glitter Paint can be a great choice.
So, when you’re considering using Rustoleum Glitter Paint, keep these points in mind. It may not be opaque and might require some practice to apply smoothly, but it does reward you with a beautiful shimmer that can transform your space with minimal effort and cost.
💡Pro tip:
If you’re looking to jazz up a room without investing a ton of effort or money (unless you’re planning a complete room makeover), Rustoleum Glitter Paint can be a great choice.
Rust-Oleum 367605 Home Interior Floor Coating Kit, Semi-Gloss Black
Ideal for updating outdated flooring at a fraction of the cost of replacement and adheres without stripping, sanding or priming.
Buy Now on AmazonHow do you apply Rustoleum glitter paint?
Mixing well is the key
So, when you’re going to buy this glitter paint, it’s really important to mix it well.
You can have me a store put it in the paint shaker to really kind of get it going. But then you want those bubbles to kind of settle down. You’re going to open it up, let it breathe a little bit, and then use a paint stick to really kind of mix it up to get that glitter to be part of the material.
After mixing, make sure to check the consistency. So, while you’ll pour some of the paint out it has to go as a thick layer – really thick layer.
Prep work
Obviously, prep work is essential. You need to do any kind of prep work on the wall, make sure that it’s smooth. Any kind of deformities that are in the wall, you want to use some spackle to fill in.
Do a demo first
For a demo you can just use a small little roller. So, try to take that roller and get onto the material and kind of work it on so it gets all the way around the roller. Back and forth, back and forth. It’s almost the consistency. It kind of feels a little bit glue as you put this on there.
Start by pouring a small amount of the glitter paint into the paint tray. Ensure that you distribute it evenly all the way across the tray.
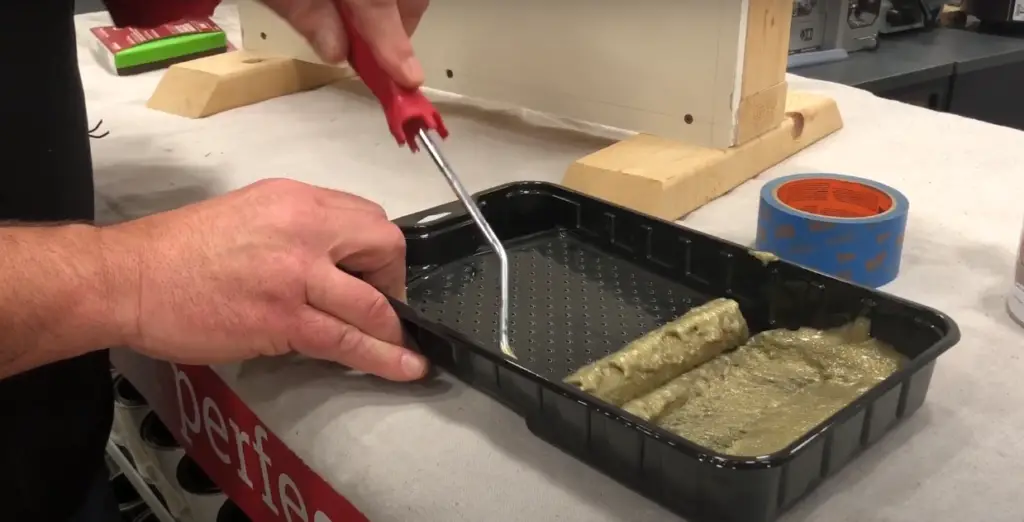
So, you want to make sure that that roller is completely covered. But make sure you take any excess off of it before you put it onto the wall.
Applying the paint
Now, it’s time to apply the paint to your surface. Begin with a thin layer of paint across the entire stripe. Be cautious not to overlap your strokes, as this can create uneven patches. Work relatively quickly, so that the entire stripe is covered while the paint is still wet.

Pro Tip: Don’t go with a heavy coat on
Now, the trick with this Rust-Oleum glitter paint product is you don’t want to put a super heavy coat on. It’s thin layers to kind of get the sparkly effect that you’re aiming for.
But if you’re like “Well, that kind of coverage is not really what I’m going for.” Don’t worry about it. You’re going to put that on there, and you’ll let that dry.
What I’m more concerned with when you put that first coat on is to get it nice and even. I don’t want you to leave any of those lines on the roller.
So, when you’ll see the coat, it must be bit darker right there because it’s so thick.
So, try to work on that roller in to even that all out. It’s going to get dry pretty quickly, and you’ll get a nice coating there, even on a bare drywall. You want to make sure that it’s on a primed surface.
Final result: Just try to look really closely, you’ll see the glitter, a nice consistent coat.
Also Read: The best paint colors for master bedrooms for 2023
💡Pro tip:
Don’t go with a heavy coat! never.
Go for multiple coats, if needed
One more coat on top of, and your walls are going to be glitter fantastic.
What is the best way to apply glitter paint?
When I first tried Rustoleum glitter paint on that top stripe of the wall, I learned a few things that can make a real difference:
1. It’s Transparent: One key thing to know is that this paint is quite see-through. So, it’s essential to start with a solid base coat of regular paint. If you’ve got pencil marks or any imperfections on the wall, they’re going to show through.
2. Requires Effort: Another thing I discovered is that Rustoleum glitter paint doesn’t go on evenly all by itself. You’ll need to put in a bit of concentration and effort to get it just right.
After that initial mishap with the splotchy top stripe, I decided to figure out how to apply it evenly. Here’s what I learned:
💡Pro tip:
One key thing to know is that this paint is quite see-through. So, it’s essential to start with a solid base coat of regular paint.
3. Concentration is Key: To achieve an even, beautiful coverage, focus on the task at hand. Take your time, and don’t rush through it.
4. Proper Technique: Use the right technique. Apply the glitter paint evenly in a controlled manner. This will help prevent blotches and streaks.
5. Practice Makes Perfect: After a bit of practice and patience, I managed to get the hang of it. The stripes I painted later on turned out beautifully, with a consistent and even glittery finish.
So, if you’re planning to use Rustoleum glitter paint, remember these tips. It may be a bit transparent and require some extra effort, but with the right approach and a little practice, you can achieve that gorgeous, even coverage you’re looking for. Don’t let that first stripe discourage you – it’s all about mastering the technique.
How long does it take Rustoleum glitter paint to dry?
Rustoleum glitter paint doesn’t keep you waiting too long. Typically, it dries to the touch in about 1-2 hours. However, to be completely sure and ready for any additional coats or touch-ups, it’s wise to allow 2-4 hours of drying time.
Keep in mind that the drying time can vary depending on factors like temperature and humidity. So, if it’s a bit humid, it might take a bit longer to dry. But once it’s dry, you can admire that sparkling finish!
📝 Key takeaways
- Mix Rustoleum glitter paint thoroughly for even distribution of glitter particles.
- Prep the wall’s surface by smoothing imperfections and using a primer.
- Practice on a small area before applying the paint to the entire wall.
- Apply thin, even layers of glitter paint for the best results.
- Focus on using the right technique to prevent blotches and streaks.
- Start with a base coat of regular paint as Rustoleum glitter paint can be somewhat transparent.
- Allow 2-4 hours of drying time for each coat of glitter paint.
- Be patient and practice to achieve a consistent, even glittery finish.
- Patchy results can occur due to uneven application, insufficient mixing, thick coats, surface issues, or rushing drying.
- Rustoleum glitter paint can add a beautiful shimmer to your walls with the right approach and care.
Why is my glitter paint patchy?
Patchy glitter paint can be a bit frustrating, but there are a few common reasons for it:
- Uneven Application: If you didn’t apply the glitter paint evenly, you’re likely to end up with patches. Make sure to distribute the paint uniformly across the surface for a consistent sparkle.
- Insufficient Mixing: Properly mix the glitter paint before application. If the glitter settles, it can lead to uneven distribution and patchiness.
- Too Thick a Coat: Applying a super thick coat might seem tempting, but it can result in uneven drying and a patchy appearance. Stick to thin, even layers.
- Surface Preparation: The condition of the surface matters. If it’s not properly prepped, imperfections underneath can show through. Smooth out the surface before applying the glitter paint.
- Dry Time: Rushing the drying process can cause patchiness. Allow each coat to dry thoroughly before adding another layer.
So, you see, Rustoleum glitter paint can be your secret weapon for adding a touch of enchantment to your walls. With patience and the right technique, you can transform any room into a sparkling wonderland. So, embrace the shimmer, banish the patchiness, and let your creativity shine.
Happy painting!


